Hey there!
Have you ever found yourself in a whirlwind of interior design ideas, colors, textures, and styles, unsure of where to start or how to bring your vision to life?!
Well, fear not! We’re about to dive into the wonderful world of creating moodboards for your interior design projects.
Imagine you have a blank canvas, a room waiting to be transformed into your dream space, but where do you begin? That’s where a moodboard comes in handy. It’s like the compass that keeps you on track during your design journey.
In this blog post, we’ll explore the art of crafting moodboards for interior design. We’ll discuss when and why it’s beneficial to have one for your project, how it can save you from design chaos, and the exciting creative possibilities it unlocks. So, grab your imagination and let’s get started on this visual adventure!
Remember that a moodboard is a flexible tool that can evolve as your design project progresses. It’s a visual representation of your ideas and a valuable reference point to keep you inspired and focused on your interior design goals.
When is it Beneficial to Have a Moodboard?
well, having a moodboard for an interior design project is beneficial in various situations and for several reasons!
First, Starting your design project with a moodboard sets the tone and direction right from the beginning. It’s an excellent way to organize your thoughts and ideas before diving into the actual design work.
Second, a moodboard is invaluable during the concept development phase. It helps you explore different styles, color schemes, and themes, allowing you to refine your design concept and make informed choices.
Third, if you’re working with clients, a moodboard is an effective communication tool. It allows you to visually convey your design ideas and gain client buy-in before proceeding with the project.
Fourth, when searching for furniture, decor, and materials, a moodboard helps you keep track of your selections and ensures they align with your design concept. It simplifies the sourcing process by providing a clear reference.
And finally, Sometimes, design projects require adjustments or refinements. A moodboard serves as a reference point, making it easier to identify where changes are needed while maintaining the project’s overall coherence.
Why is it Beneficial to Have a Moodboard?
Moodboards offer a clear visual representation of your design ideas. They help you see how different elements come together, ensuring a cohesive and harmonious look.
On the other side, creating a moodboard encourages creativity and inspiration. It allows you to explore various design elements and experiment with ideas while staying focused on your project’s objectives.
As mentioned, moodboards are a powerful communication tool, especially when working with clients or collaborators. They facilitate discussions, provide a shared vision, and reduce misunderstandings.
Another important benefit of moodboards is that by planning and visualizing your design with a moodboard, you can better manage your budget. You can see where your resources are allocated and make cost-effective decisions.
Last, but not least, when you have a moodboard to refer to, decision-making becomes more straightforward and efficient. You can quickly determine whether a particular item or design choice fits the overall concept. As a result, the moodboard helps minimize design mistakes, as you can identify potential issues or clashes early in the process. This can save you time, money, and frustration down the road.
How to make a moodboard for an interior design project!
Begin your interior design journey by setting clear and inspiring goals. These goals will serve as the foundation for your entire project, guiding your decisions and ensuring a harmonious outcome.
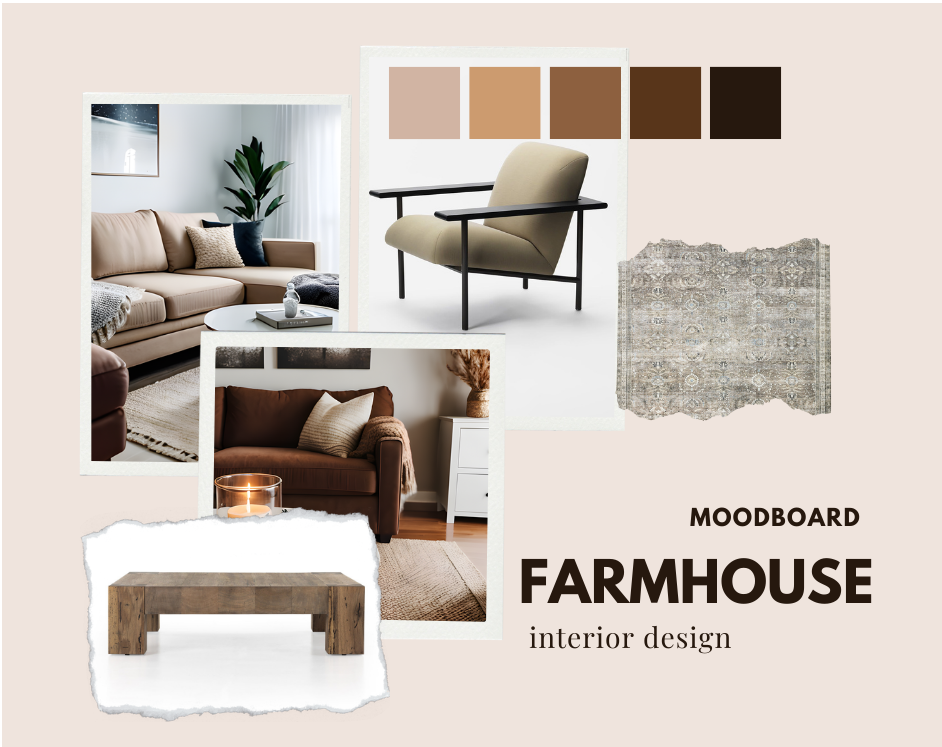
First and foremost, ask yourself what you hope to achieve with this project. Are you aiming for a modern, sleek look, or do you prefer the cozy, rustic charm of a farmhouse style? Perhaps you’re drawn to the simplicity and elegance of minimalism? Defining your preferred style is the first step toward creating a space that truly resonates with you.
Next, consider your color scheme. Do you envision a vibrant and colorful space, or is a more neutral and calming palette more your style? Colors play a pivotal role in setting the mood and atmosphere of a room, so choose them thoughtfully.
Functionality is another critical aspect. Think about how you’ll use the space. Is it a cozy family living room, a productive home office, or a tranquil bedroom retreat? Understanding how the space will be utilized ensures that your design not only looks great but also works well for your needs.
Don’t forget about themes or specific elements you want to incorporate. Whether it’s a beachy coastal theme or the inclusion of eco-friendly materials, these special touches add character and personality to your design.
In essence, defining your design goals is like setting the destination on your design journey’s map. It helps you stay focused, make informed choices, and ultimately create a space that reflects your vision and desires.

Gather Inspiration
The second step in the interior design process is to “Gather Inspiration.” This step is all about immersing yourself in a world of ideas, creativity, and visual stimulation to fuel your design project. Every design project should reflect your personal style and preferences. Gathering inspiration allows you to discover what resonates with you and incorporate those elements into your design.
To gather the inspiration, look beyond a single source of inspiration. Explore interior design magazines, websites, blogs, social media platforms (like Pinterest and Houzz), design books, and even your own photo collection. Each source offers a unique perspective. Pin images, colors, textures, and ideas that catch your eye. Organize them into categories or themes to help you see patterns and preferences. If possible, visit furniture showrooms, art galleries, and home design exhibitions. Seeing design elements in person can be a powerful source of inspiration. Participate in design workshops, seminars, or webinars to learn about the latest trends and techniques in interior design. These events often provide valuable insights and networking opportunities.
Sometimes, inspiration can come from your own experiences, travels, or memories. Reflect on places you’ve visited, colors that evoke emotions, or elements that hold sentimental value. Be also open to diverse styles and elements, even if they don’t seem immediately relevant to your project. Inspiration can come from unexpected sources.

Select a Moodboard Platform
This step involves choosing the medium or platform you’ll use to create your moodboard. The choice between physical or digital moodboards depends on your preferences, the project’s scope, and the tools available to you.
Physical moodboards are typically created on a poster board or foam board. You can attach images, fabric swatches, paint samples, and other tangible materials using adhesive or pins. Creating a physical moodboard provides a tactile and hands-on experience. You can touch and arrange materials, giving you a deeper connection to your design elements. However, physical moodboards have limitations in terms of portability, storage, and the ability to easily make changes or revisions.
Digital moodboards can be created using various online platforms and graphic design software. Some popular options include Canva, Adobe Spark, Pinterest, and even design-specific software like SketchUp or Adobe InDesign.
Digital moodboards also facilitate collaboration, as you can easily share your digital moodboard with clients, colleagues, or friends for feedback and input. Some digital moodboard platforms, like Pinterest, allow you to link directly to sources, making it easy to find and purchase items you’ve included in your design.
How to Choose?
Consider your project’s specific needs and your personal preferences. Are you more comfortable with traditional, hands-on methods, or do you prefer the flexibility and convenience of digital tools?
Think about the practical aspects of your project. If you anticipate making frequent changes or need to collaborate with others, a digital platform might be more suitable.
Choose a platform that aligns with your level of expertise and the complexity of your project. Some platforms are user-friendly, while others require more technical proficiency.
Choose a Color Palette
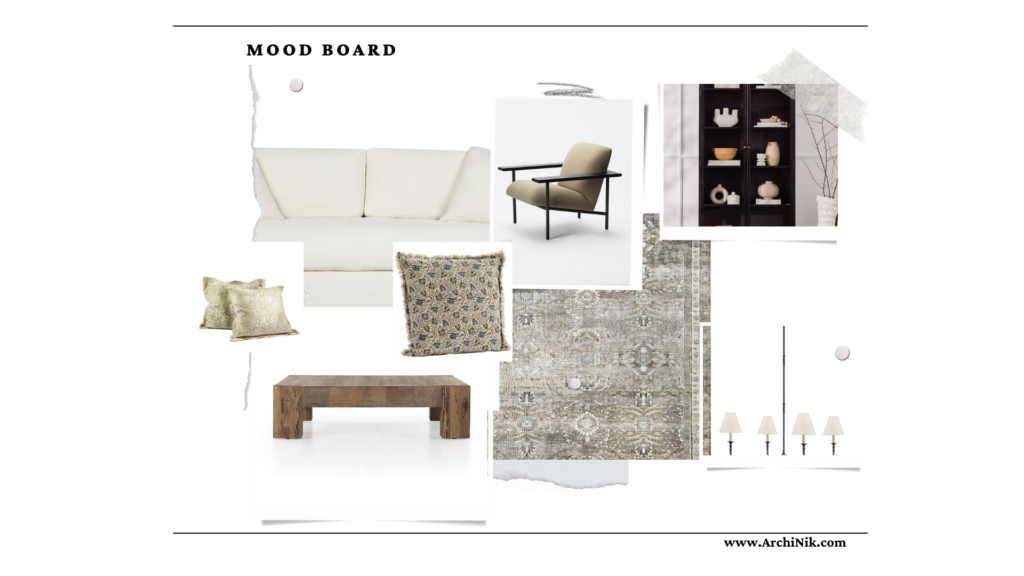
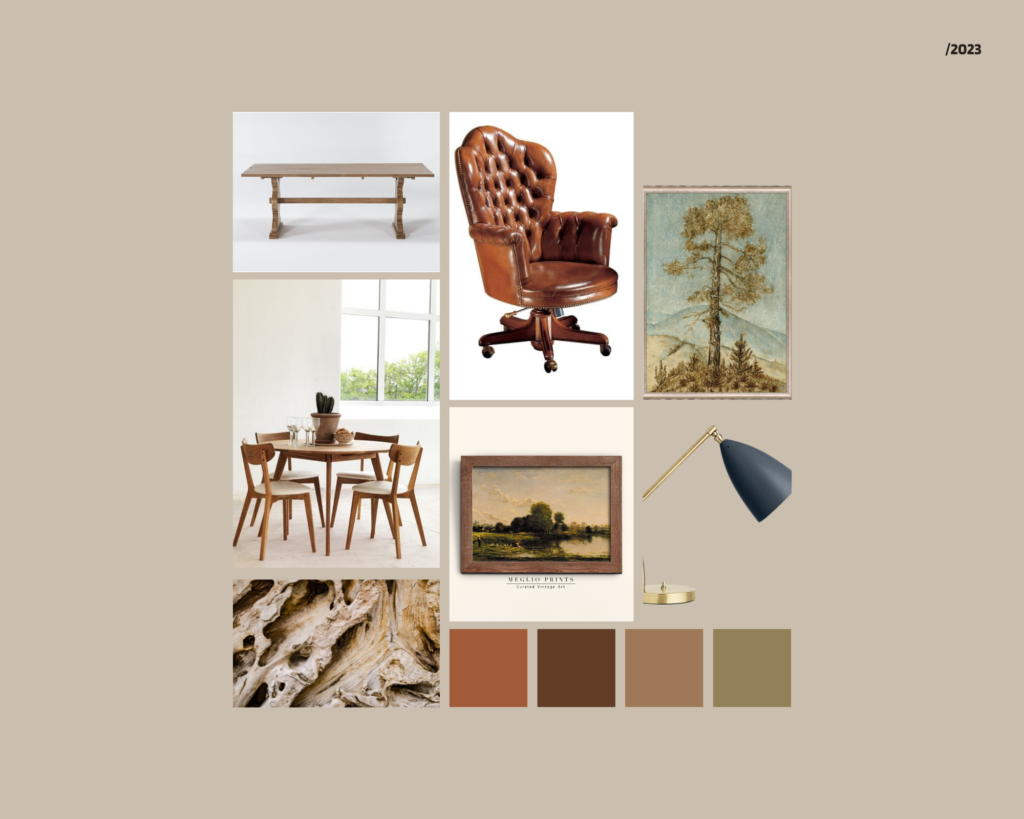
This step involves selecting a set of colors that will define the overall look and feel of your interior design project. Begin by revisiting the inspiration you’ve gathered, paying attention to recurring colors and themes. Consider the room’s purpose and the emotions you wish to evoke, aligning soothing shades for bedrooms and vibrant hues for creative workspaces. Define primary colors for larger surfaces and select accent colors for details. Visualize the palette by creating color swatches on your moodboard. Test samples in the actual space, and trust your personal taste! Here’s an explanation of this step, if you need more information.

Arranging Elements
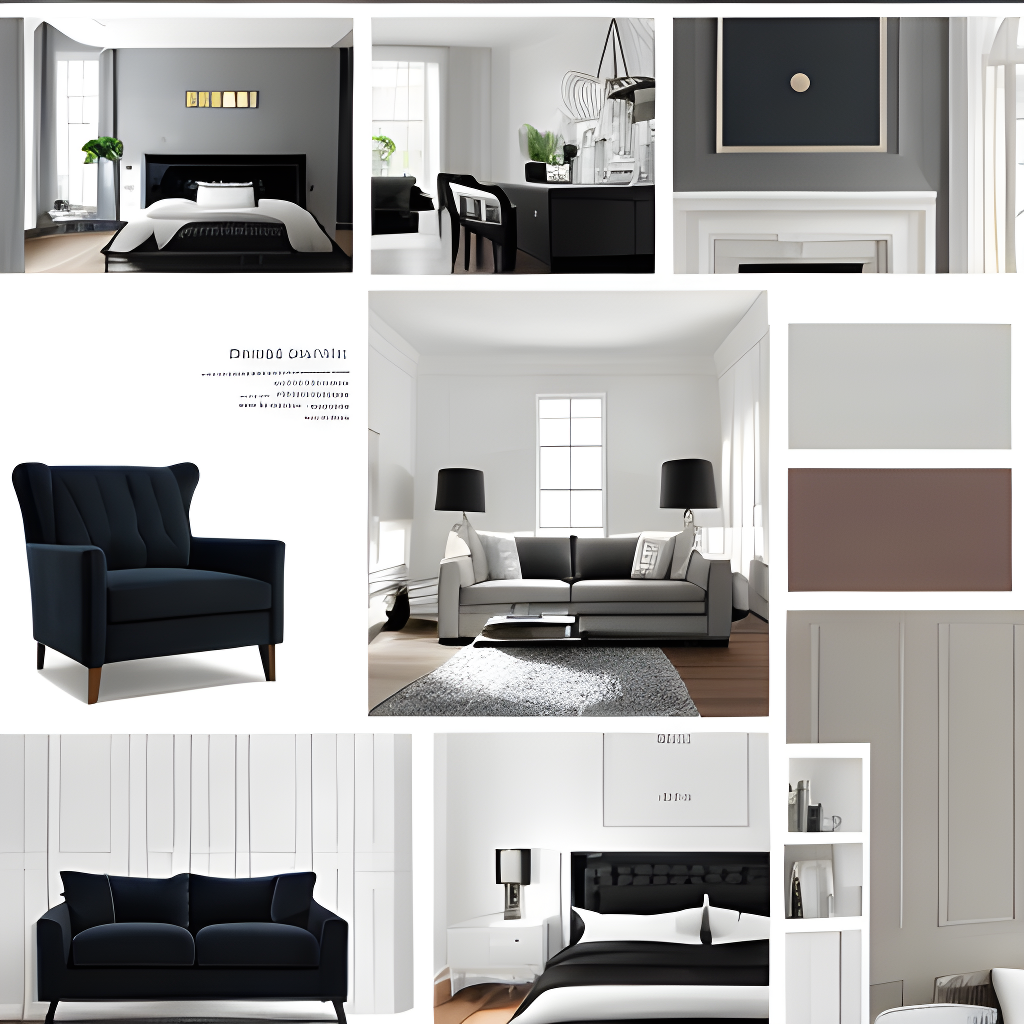
In this step, you organize the various design elements you’ve collected on your moodboard. This includes arranging images, colors, textures, and materials in a visually pleasing and balanced manner. The goal is to create a harmonious composition where the elements work together cohesively and reflect the overall style and aesthetic of your design concept. Pay attention to the flow and hierarchy of the design elements, ensuring that the most important and impactful elements are prominently featured.

Include Room Layout
If applicable to your project, consider adding a basic floor plan or room layout to your moodboard. This helps you visualize the spatial arrangement of furniture and decor within the room.
The room layout can be a simple sketch or a digital representation, depending on your preferences and the complexity of the project.
It provides a practical understanding of how the design elements will fit into the physical space, aiding in spatial planning and ensuring that the design is both functional and visually appealing.
Add Labels and Descriptions
Labeling elements on your moodboard is optional but beneficial for providing context and explaining why you included them. This step adds clarity and helps others understand your design choices. Include descriptions, product names, and notes about each item’s role in the design. This information is especially useful when presenting your moodboard to clients or collaborators.
Edit and Refine, Share and Gather Feedback
These steps involve reviewing your moodboard to ensure it accurately represents your design concept and vision. Take the time to make any necessary adjustments to colors, elements, or layout to achieve the desired look and feel.
Then, you can seek the feedback! If you’re working with a client or collaborating with others, sharing your moodboard is a crucial step. It allows you to engage in a discussion to ensure everyone understands and agrees with the design direction. This can be invaluable in refining the design and making adjustments based on different perspectives and preferences. At the end, you can use your moodboard as a reference!
I hope these steps have been helpful in guiding you through the process of creating a moodboard for your design project. I’d love to hear from you! Please share which steps you typically use when crafting a moodboard. Your tips and ideas are always appreciated and can be a great source of inspiration for others. Let’s keep the creative conversation flowing! 🙂

Leave a Reply